How to Inflate and Deflate a Paddle Board
Ready to Use
Steps to inflate your paddle board

Step 1
Take items out of the bag and lay the board on a clean surface to roll out your SUP.

Step 2
Before you start inflating, be sure that the valve’s yellow pin is in the upright position. This means the valve is closed and will prevent all of the air from rushing out when you are finished pumping. Remove the safety cap from the inflation / deflation valve and attach the pump hose end to the valve, turning to the right to tighten.

Step 3
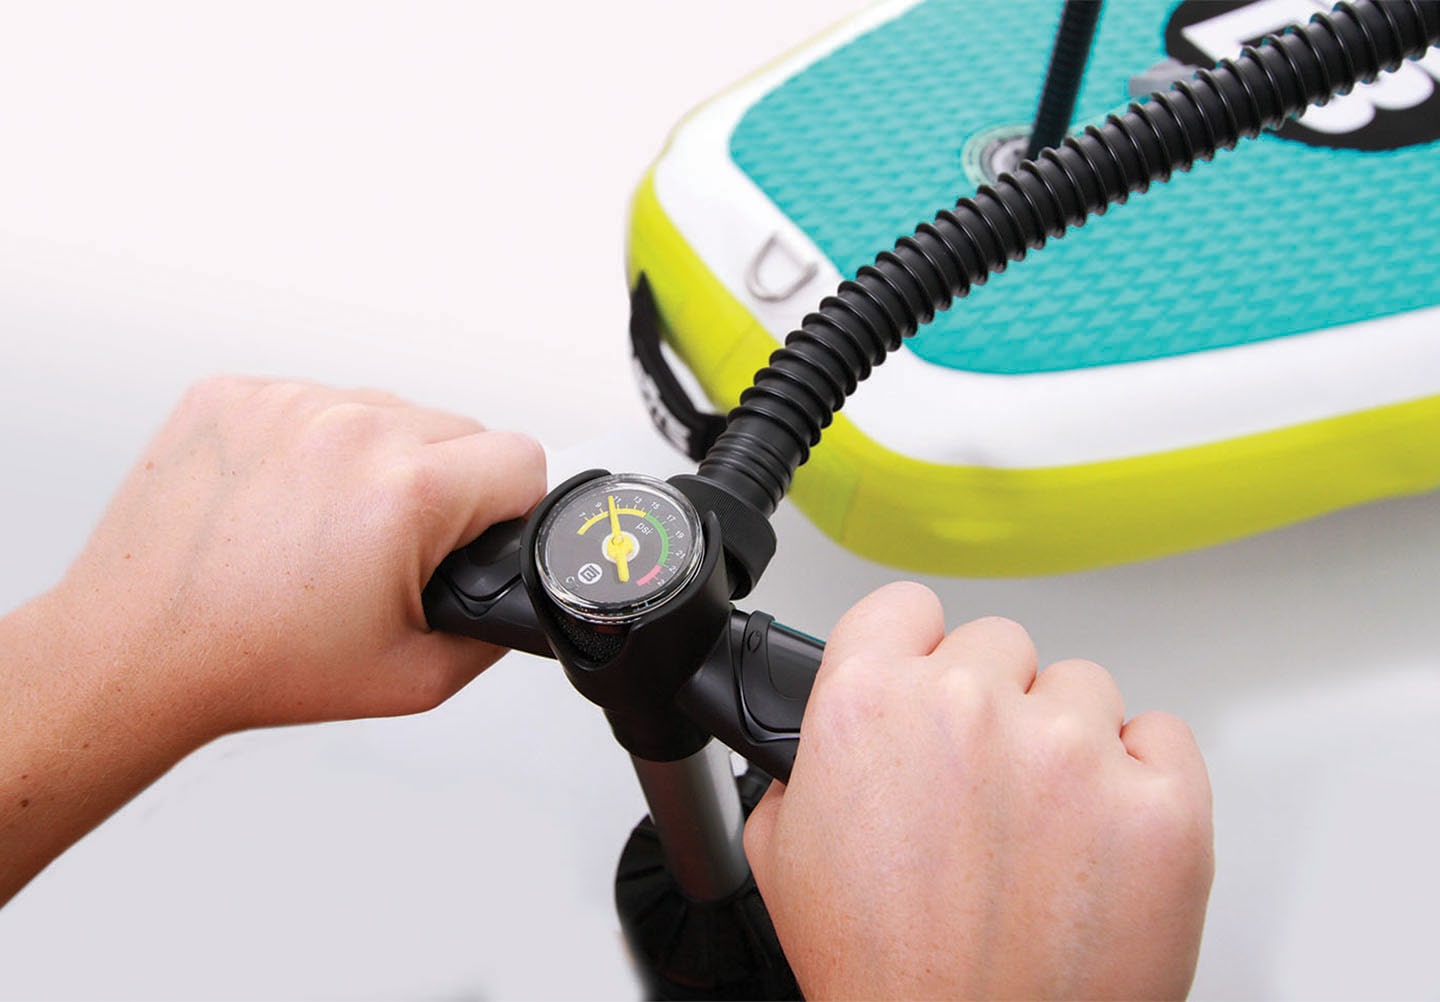
Stand on the pump and begin to move the handle up and down. Make sure you pump directly up and down to avoid damaging the pump. Air will be pumped into the board on up and down strokes. If you are finding it hard on upward strokes, undo the cap found in the middle of the pump to allow air to only be pumped into the board on downward strokes, making it easier to pump.

Step 4
As the board begins to inflate, the pressure gauge will start to move. Once the pressure gauge reaches between 12 and 15 PSI*, detach the pump hose from the air valve and replace the safety cap. If you’re looking for an upgrade from a hand pump, try out one of our Electric Pumps.
*The pressure gauge will not read until it has reached 10 PSI.

Step 5
Attach your fin and leash (not included, but recommended) and you are ready to hit the water! Enjoy!
READY TO STORE
Steps to deflate your paddle board

Step 1
When you are finished with the board, make sure to clean off any dirt, sand or saltwater with fresh water. Then allow the board to dry or dry with a towel. Also, remove accessories such as the fin and leash. When ready, remove safety cap and push down on the central valve head to release initial air.

Step 2
After approximately 15 seconds, push down all the way and twist the valve head clockwise to lock the air valve open for the remaining air to escape.

Step 3
Begin to roll up the board from the end opposite the air valve making sure to push any remaining air towards the valve. Make sure when rolling the board that the fins are on the outside and the deck pad is on the inside to keep main components safe during storage.

Step 4
Once fully rolled up, use the compression strap to neatly store the SUP back in the carry bag.

Step 5
When storing your SUP, keep it in a clean dry place.
Always store your board in a cool, dry place or shady area out of reach of direct sunlight to avoid bursting or fading colors. The sun both weakens the material and seams and increases the pressure beyond its design limits. If you must leave your inflated board out of the water and in direct sunlight or choose to store it partially inflated, reduce pressure until the board is compressible by hand.


